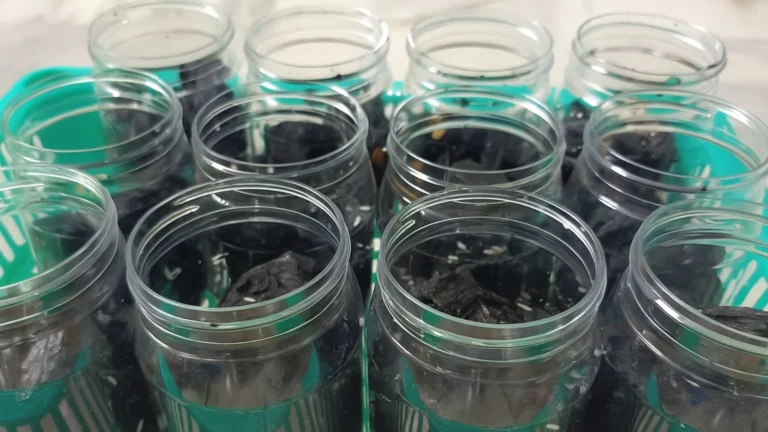
Use clear, micro‑vented boxes that hold 85–95% RH and airflow. Sterilize a well‑aerated substrate (charcoal or pumice), moisten to field capacity, and maintain 23–25°C with diffuse light. Feed layers of baker’s yeast, plus occasional rice or spirulina, only when the last portion’s nearly gone. Mist lightly if surfaces mattify; vent if soggy. Harvest by floating and pouring off swimmers, removing 5–10% twice weekly. Scale by reseeding boxes every 2–3 weeks—then optimize timing, ratios, and troubleshooting.
Key Takeaways
- Use clear, ventilated boxes with 0.2–0.5 mm mesh; keep 85–100% humidity and smooth, shallow walls to prevent escapes and stagnation.
- Prepare sterile, well-drained substrate (charcoal/pumice/coco/decayed wood) at field capacity; sieve, rinse fines, and layer coarse base with finer mid-layer.
- Feed thin, even portions of yeast plus rice or spirulina/fish food; only refeed when nearly consumed to avoid mold and CO2 spikes.
- Maintain 68–74°F, diffuse light, and high gas exchange; mist dechlorinated water when surfaces dull, vent if soggy, and log activity, juveniles, and eggs.
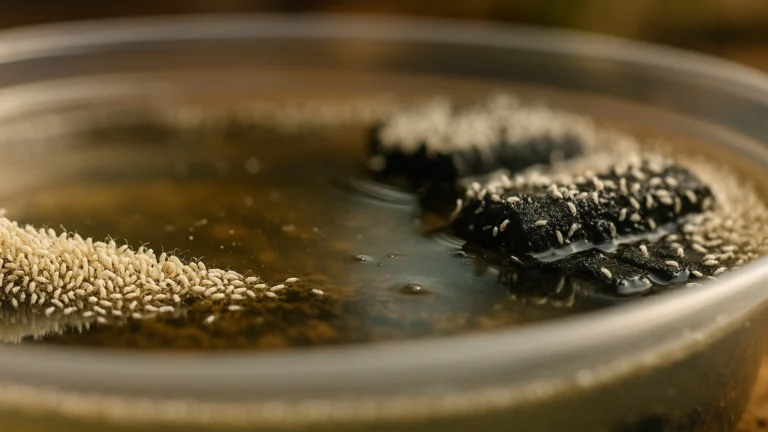
- Harvest by flooding and pouring off swimmers; remove 5–10% adults twice weekly, reseed new boxes regularly, and cull mold or mites to prevent crashes.
Gear and Containers That Set You Up for Success
Although springtails tolerate a range of setups, choose containers and tools that control humidity, airflow, and contamination with minimal fuss. Prioritize clear, autoclavable plastic boxes with tight lids and micro-vent ports; they let you monitor populations and maintain 90–100% relative humidity without stagnation. For containers selection, aim for shallow footprint, smooth walls, and stackable form to reduce escapes and save space. Fit vents with 0.2–0.5 mm mesh to exclude mites while permitting gas exchange. Essential tools include a fine mist sprayer, soft silicone spatula, lab scoop, squeeze bottle for dechlorinated water, and 70% ethanol for sanitation. Add digital hygrometers and IR thermometers to verify conditions. Work over a clean tray, wear nitrile gloves, and label dates to track culture performance and detect early issues.
Choosing and Preparing the Perfect Substrate
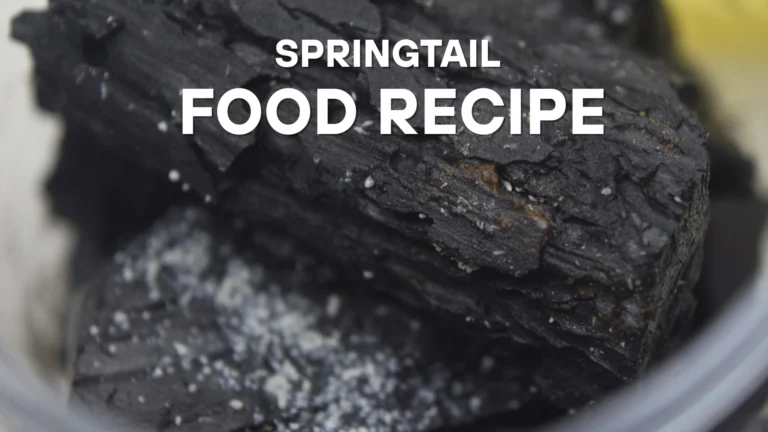
You’ll select substrate materials (e.g., horticultural charcoal, pumice/clay, or coco coir/peat) based on aeration, surface area, and chemical inertness shown to support high springtail reproduction. You’ll set moisture to field capacity—moist but not pooling—and guarantee drainage to maintain oxygen and suppress bacterial blooms. You’ll sterilize and prepare by baking or boiling, then rinse to remove fines, cool to ambient, and inoculate.
Substrate Material Options
While the substrate underpins colony stability, select and prepare materials that balance moisture retention, aeration, and mold control to optimize springtail reproduction. You should compare substrate types by function. Charcoal (horticultural or biochar) offers high surface area, neutral pH, and adsorptive sites suppress nuisance microbes. Plaster-of-Paris with charcoal creates firm, micro-porous matrix that resists collapse. Pumice or lava rock increases void space and deters compaction. Organic materials such as coconut coir, decayed hardwood, and leaf litter add lignocellulose that supports microbial biofilms—the springtails’ primary food. Sphagnum moss contributes phenolics with documented antifungal activity. Rinse mineral media to remove dust; oven-pasteurize organics at 82–93°C for 60 minutes to reduce pests. Sieve to uniform particle sizes and combine components in reproducible ratios. Label batches for consistency.
Moisture and Drainage Balance
Material selection sets the stage; moisture and drainage govern oxygen diffusion, microbial activity, and springtail reproduction. Aim for field capacity: when you squeeze the substrate, it clumps yet releases only a drop or two. Create a pore-size gradient—coarse base, finer mid-layer—to balance moisture retention with aeration. Add a 1–2 cm drainage layer and employ angled containers or vented lids as drainage techniques. Monitor mass and surface sheen; rehydrate by misting, not soaking. Keep substrates loose, never compacted, to prevent anoxic pockets and population crashes.
| State | Signal | Action |
|---|---|---|
| Calm resilient hope | Pearlescent sheen | Hold steady |
| Subtle cautious worry | Matte patches | Mist very lightly |
| Rising acute stress | Water pooling | Drain immediately, elevate |
| Relief | Even cohesive clump test | Maintain current regimen |
Measure, adjust, and document your regime.
Sterilization and Preparation Steps
Substrate-prep starts by deciding the sanitation level you need and selecting a method you can repeat without altering structure.
Begin with container cleaning: wash with fragrance-free detergent, rinse thoroughly, then disinfect with 3% hydrogen peroxide or 70% isopropyl alcohol; air-dry to zero residue. For substrate, choose sterilization techniques matched to material. For charcoal or pumice, bake at 90–105°C for 60 minutes to reduce microbes without melting binders. For coco fiber or peat, use moist heat: pasteurize at 70–75°C for 30–45 minutes; avoid boiling, which collapses structure. Microwaving works for small batches: dampen, heat until steaming, then cool covered. Rehydrate to field capacity with dechlorinated water. Handle sterile materials with clean tools and gloved hands. Label date, batch, and method for reproducibility and consistency tracking.
Dialing In Moisture, Ventilation, and Temperature
Because springtails accelerate reproduction only within narrow environmental bands, dial in three variables: moisture, airflow, and temperature. Target humidity levels of 90–100% at the substrate interface without standing water. Use the squeeze test: media should clump, not drip. Provide ventilation techniques that exchange CO2 for O2 while limiting evaporative loss: fine-mesh lids, pinhole cross-vents, or filter patches. Maintain 20–24°C (68–75°F) for temperate species; 22–26°C (72–79°F) for tropical lines. Verify with a thermo-hygrometer at lid and substrate. Mist with dechlorinated water as needed to keep microcondensation on walls, then let it fade between cycles. Avoid waterlogging to prevent hypoxia. Place cultures off direct sun and heat sources. If room swings, use a thermostat and low-watt heat pad. Audit weekly and adjust in 5% humidity or 1°C increments.
What to Feed (Yeast, Rice, and More) and How Often
With moisture, airflow, and temperature stable, feeding now determines growth rate and culture health. Springtails graze biofilms, so you’re fueling microbes that convert carbs and proteins into accessible nutrients. Aim for small, even portions and adjust feeding frequency to match consumption. Monitoring the population of springtails in bioactive vivariums is essential, as an overabundance can lead to competition for resources. Regularly assess their numbers and health to ensure a balanced ecosystem, preventing any single species from dominating. Maintaining diversity among the microbial population will further enhance nutrient cycling and overall vivarium stability.
- Baker’s or brewer’s yeast: dust a thin veil; it hydrates, ferments, and boosts springtail nutrition quickly.
- Cooked rice or rice flour: add a few grains or a pinch; it supports a steady fungal bloom without spiking CO2.
- High‑protein fish food or spirulina powder: micronize it; amino acids accelerate reproduction.
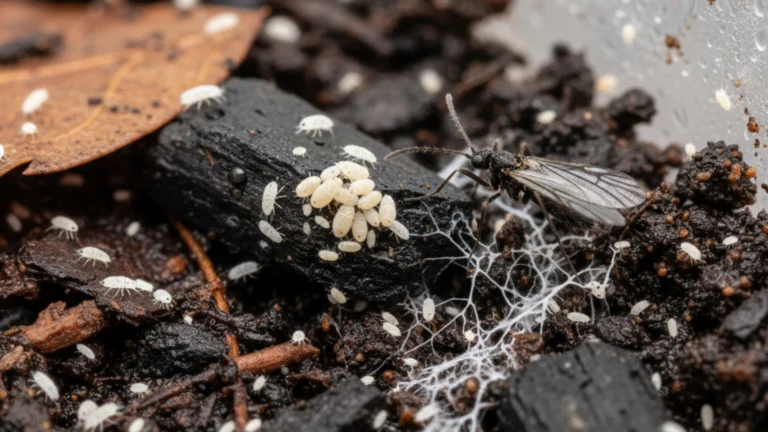
- Leaf litter or decayed hardwood chips: introduce tiny fragments to diversify microbial communities.
Refeed only when the previous portion is nearly gone; mold should be sparse and patchy, not thick.
Week-by-Week Care and Culture Maintenance
You’ll standardize Week 1 setup by hydrating the medium, inoculating with a known starter density, and setting temperature and humidity within documented ranges. During Weeks 2–3, you monitor population growth, substrate moisture, and odor/CO2 as metabolic proxies, then adjust feed and ventilation based on observed trends. By Week 4, you harvest using float-and-pour or charcoal tapping while maintaining a backup culture to prevent bottlenecks. If sourcing in India, consider pest-free cultures with express shipping from Springtails.in to ensure clean, reliable starts.
Week 1 Setup
Before introducing springtails, establish a clean, moisture-stable microhabitat: disinfect a ventilated container, add 2–3 cm of pasteurized substrate (horticultural charcoal or a plaster-of-Paris/terracotta mix), and hydrate to field capacity without pooling. Maintain stable room lighting conditions; avoid direct sun, which drives desiccation and heat spikes. Target pH levels near neutral to slightly acidic; buffer with a pinch of calcium carbonate if needed.
- Rinse charcoal to remove fines; drain until it glistens, not drips.
- Pre-warm the container to 20–24°C and verify 90–100% relative humidity.
- Seed with a small starter; distribute evenly across moist surfaces.
- Add a scant dusting of yeast or rice flour; cap with breathable lid.
Label the culture, record baseline temperature, humidity, and pH for reference during week one.
Weeks 2–3 Monitoring
Although the culture is established, you now shift to tightly monitoring moisture, food turnover, and population signals during weeks 2–3. Conduct week two observations daily: confirm the substrate feels uniformly damp (no pooling), lid condensation is light, and CO2 doesn’t spike after feeding. Use small, even feedings of brewer’s yeast or fish food; aim for complete consumption within 24–48 hours. Track activity at food patches, juvenile counts, and visible eggs; rising numbers indicate adequate nutrition and aeration. Remove any fuzzy, spreading mold and increase ventilation slightly if odors intensify.
Implement week three adjustments based on data trends. If food persists past 48 hours, halve portions. If surfaces dry, mist with dechlorinated water; if soggy, vent longer. Maintain 68–74°F and stable, indirect light each day.
Week 4 Harvesting
After two weeks of stable feeding and moisture control, week four focuses on controlled harvesting while preserving culture vigor. Use quantitative sampling to avoid population crashes and promote culture expansion.
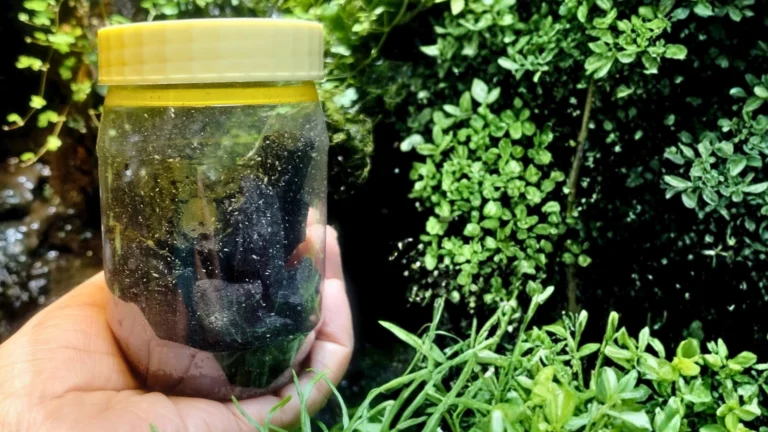
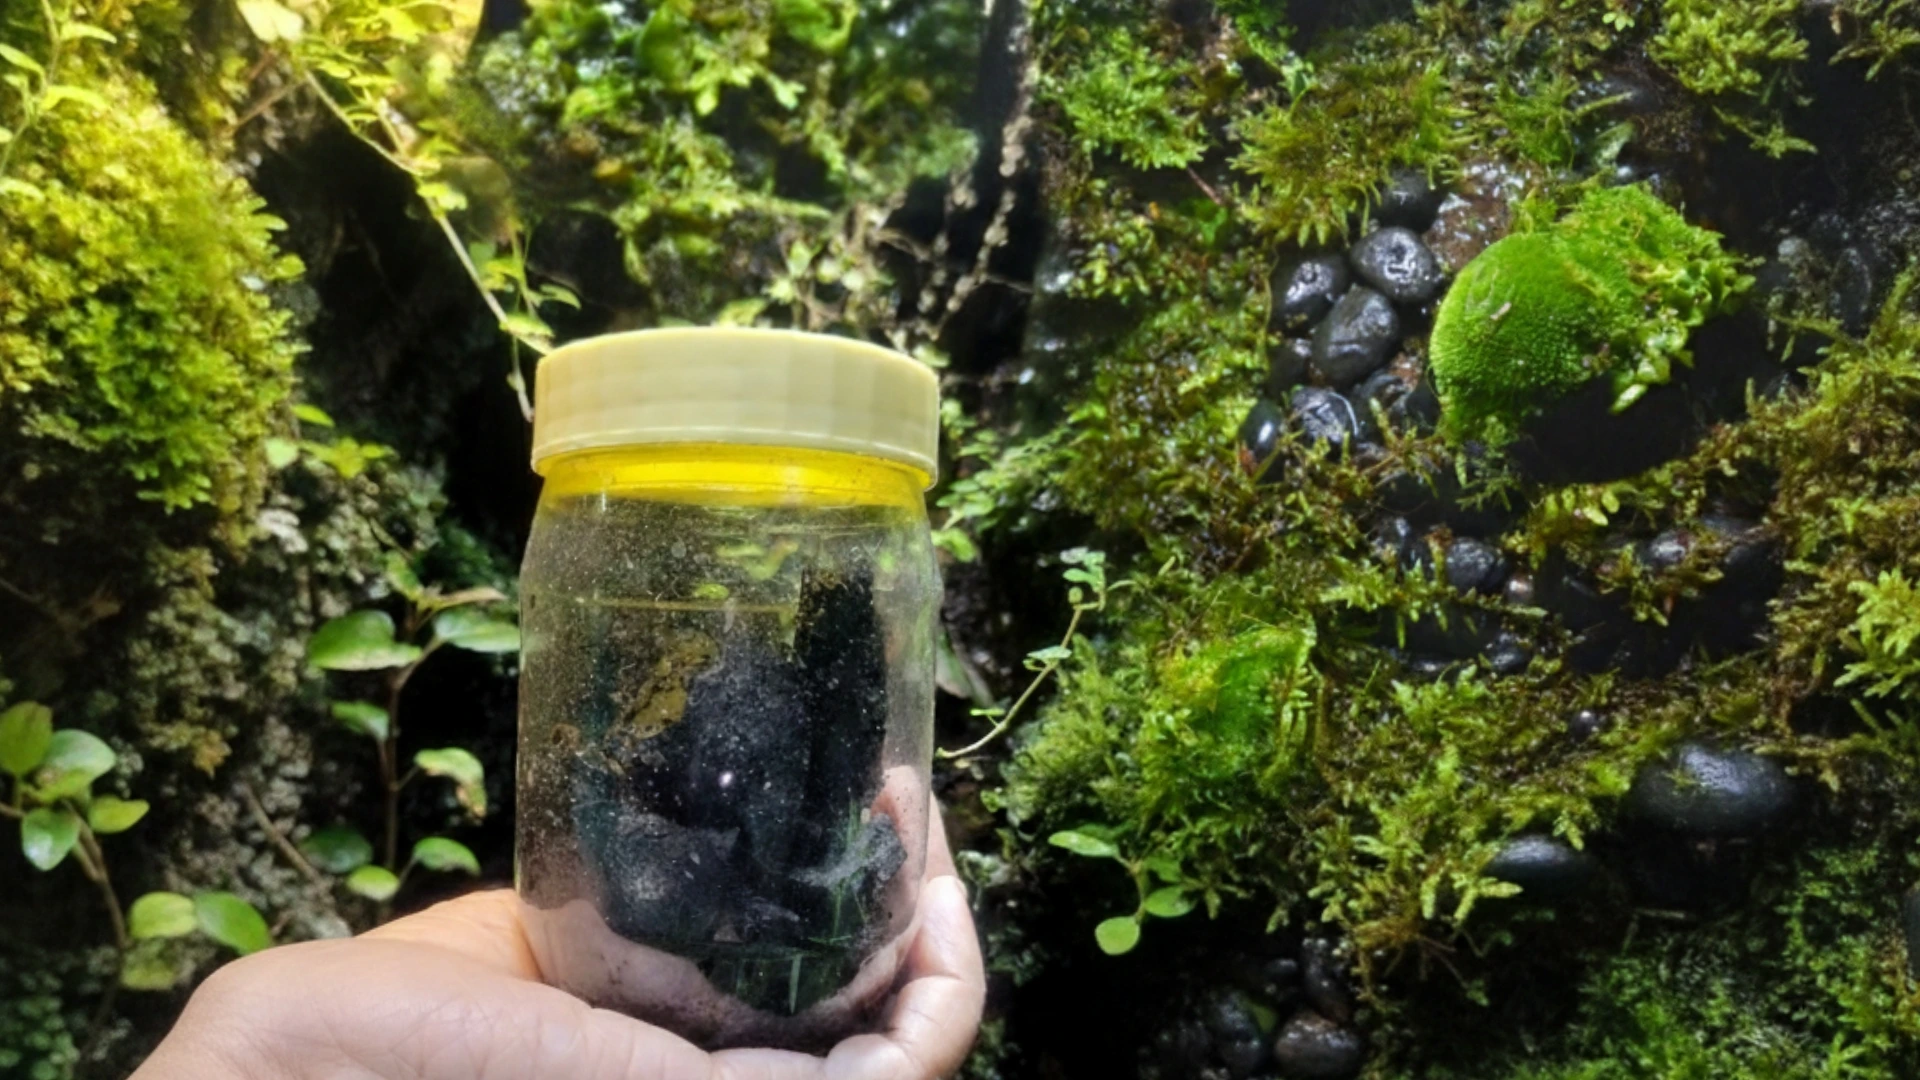
- Apply the float method: add 5–10 mL dechlorinated water, tap the lid, and decant swimmers through a 190–250 µm mesh; return stragglers.
- Standardize yield: harvest 5–10% of visible adults per pull, repeating twice weekly; log counts to calibrate harvesting techniques.
- Protect brood: keep substrate moist, undisturbed, and shaded; never scrape; retain biofilm so juveniles continue feeding.
- Reseed and rotate: split a third of biomass into a fresh container every 2–3 weeks to diversify structure and buffer shocks.
If growth slows, reduce extraction, lighten feed, and restore ventilation. Consistency stabilizes reproduction and keeps harvests predictable.
Harvesting, Scaling, and Preventing Crashes
Harvest deliberately, scale systematically, and manage risks to keep your springtail culture productive.
You harvest by flooding the substrate, pouring off swimmers, and letting fines settle before dosing enclosures. Take no more than 25–40% per pull to preserve age structure and sustain springtail breeding. Replace biomass with fresh charcoal or clay; adjust culture nutrition: thin yeast or rice flour dusting plus occasional mineralized water prevents boom–bust cycles. To scale, seed 2–3 new boxes monthly from your best producer; stagger start dates to spread risk. Standardize 23–25°C, 85–95% RH, diffuse light, and high gas exchange. Prevent crashes by removing mold mats, uneaten feed, and mites; bake or freeze media between uses. Log; if counts drop >30% for two weeks, split, refresh media, and reduce feeding.
Frequently Asked Questions
How Do I Choose Springtail Species for Dart Frog Vivariums?
Worried they’ll overrun the tank? Select springtail species by moisture tolerance, size, reproduction rate, and temperature matching your dart frog vivarium: temperate Folsomia candida for generalists; tropical Sinella curviseta for humid setups. Quarantine, monitor densities.
Are There Legal or Permitting Issues When Shipping Live Springtails Across States?
Yes; you face constraints under interstate shipping regulations. You’ll verify state invasive-species lists, soil import bans, and USDA APHIS rules, and obtain live organism permits when required. Hawaii and some states prohibit unpermitted invertebrates outright.
Can Springtails Trigger Allergies or Affect Indoor Air Quality?
Picture tiny specks scattering like ash. You rarely experience springtail allergies; evidence shows minimal sensitization. They don’t degrade indoor air quality, but overgrown media can elevate mold spores and dust. Control humidity, contain cultures carefully.
How Do I Quarantine New Cultures to Avoid Pests and Pathogens?
You quarantine new cultures by isolating containers 30 days, using sterile substrate, lids with ventilation, and dedicated tools. Implement quarantine methods: inspect weekly, sticky traps, heat-sterilize spills, discard contaminated stock. For pest prevention, freeze media.
What Are Ethical, Sustainable Sources for Starter Cultures?
Source lab-maintained, captive-bred cultures from certified vendors. When ethics and ecology coincide, you’ll prioritize traceability. Employ sourcing methods: local hobbyist exchanges and audits. Supplier recommendations: biosecure invertebrate breeders with regional sourcing and documented pathogen screening.